Module 1: Setup & First Session
Installation & Authentication
For installation instructions (macOS, Linux, Windows, npm, Docker), authentication options (subscription, API key, enterprise SSO), and first-run setup, see the official Getting Started guide.
Once installed, run claude in your project directory and you're ready to go. Run /init to generate a starter CLAUDE.md (covered in depth in Module 2).
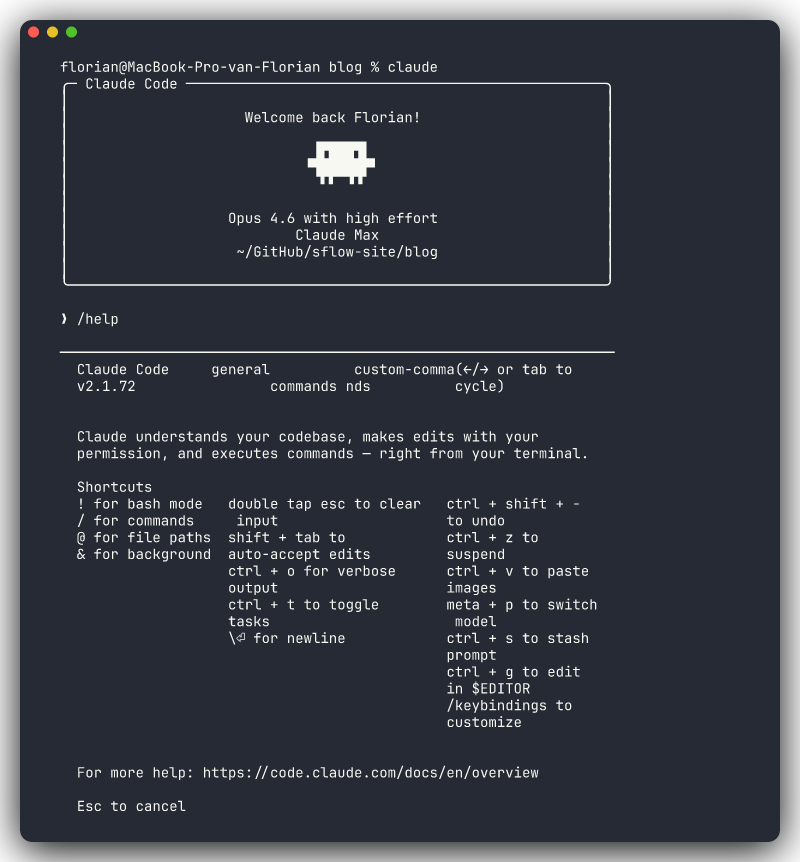
Type /help to see available commands and keyboard shortcuts:
Permission Philosophy
Claude Code asks before doing anything destructive. By default: reading files is always allowed, while writing files, running shell commands, and git operations require your approval.
Build Intuition Before Loosening Permissions
Stay on default permissions until you've built intuition for what Claude Code does in a typical session. The temptation to enable auto-accept ("yolo mode") is real. Resist it until you trust the workflow. You'll learn when to loosen permissions in Module 3.
This is the most important setup advice: your permission model is your safety net. New users who skip straight to auto-accept miss the learning phase where you develop a feel for what Claude does well and where it needs guardrails. Every approval prompt is a chance to review an action before it happens.
Once you're comfortable with the patterns — you know what kinds of shell commands Claude runs, you've seen how it edits files, you understand its git workflow — then you can start selectively allowing operations. But that comfort should come from experience, not impatience.